
How to Apply Press-On Nails Like a Pro
Get salon-quality nails at home with this easy step-by-step guide to applying press-on nails that actually last.
nailcodez
5/8/20245 min read
I used to think press-on nails were one of those “too good to be true” beauty hacks. For years, I booked salon appointments every few weeks and never even considered doing my nails at home. But after a hectic season of traveling and back-to-back work deadlines, I wanted something faster, cheaper, and easier to maintain.
That’s when I finally gave press-on nails a real chance.
At first, I assumed they’d fall off after a day or look obviously fake. Surprisingly, the opposite happened. Once I learned the correct way to apply them, they looked incredibly natural and lasted over a week.
After testing a bunch of different brands and styles, I figured out exactly what makes press-ons stay put, how to avoid lifting, and how to make them look salon-quality in under 15 minutes.
If you’ve been curious about trying fake nails at home, here’s the full step-by-step guide.
You can find the press-on nails I recommend here.
Why Press-On Nails Are Worth Trying
There are so many reasons people are switching to press-ons:
they’re affordable compared to salon visits
application is quick and beginner-friendly
they come in tons of shapes and lengths
you can file and customize them easily
many sets are reusable
they work for both short-term wear and longer wear
modern press-ons look much more natural than older versions
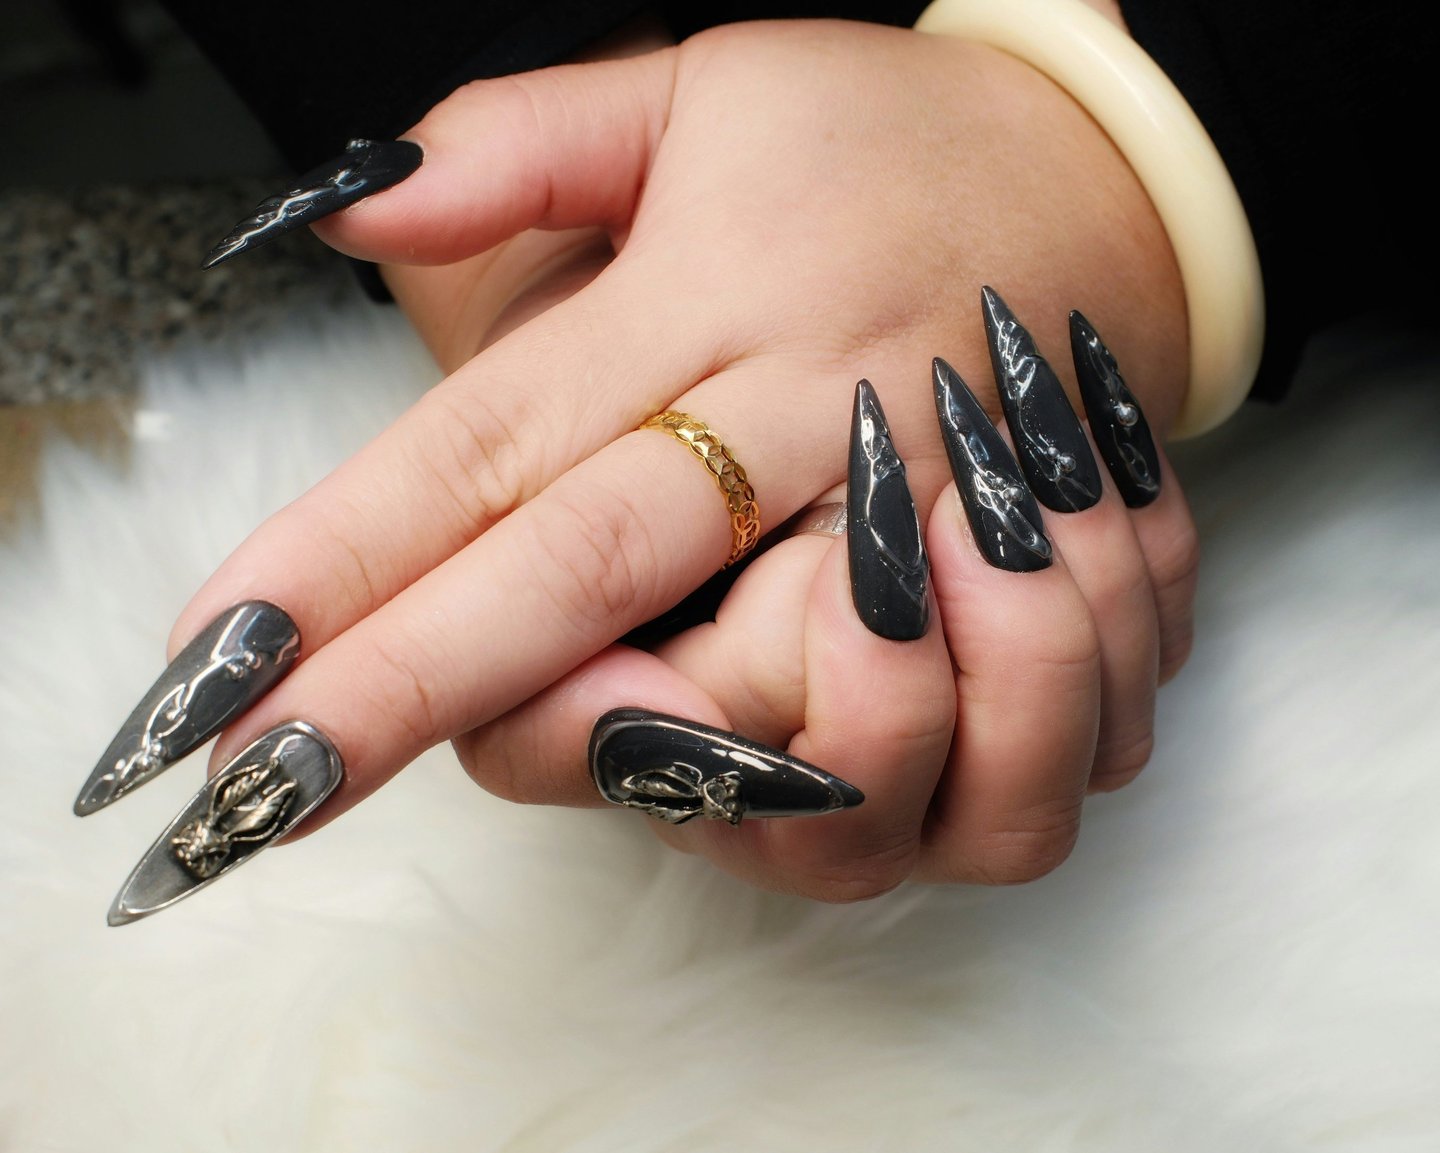
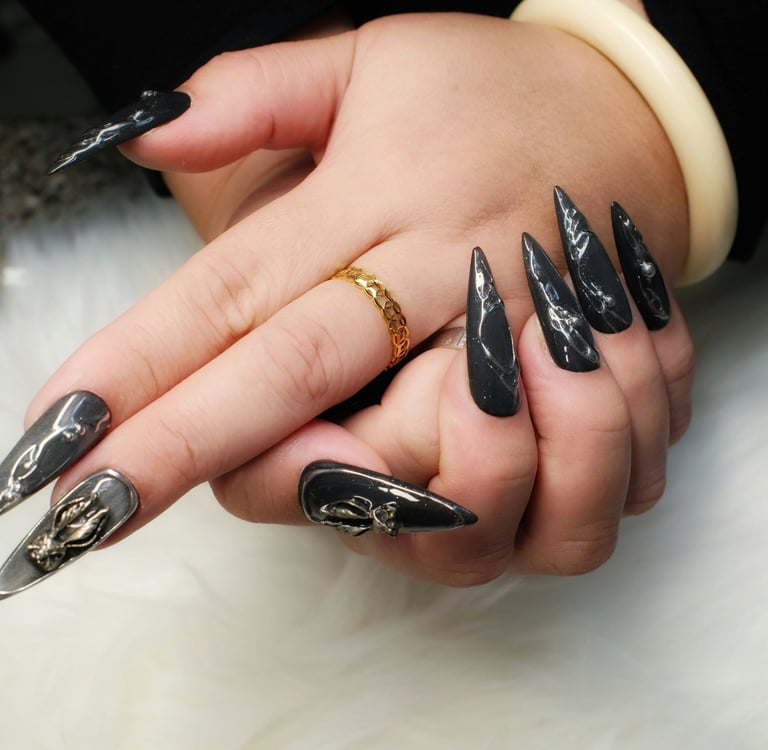
Whether you like almond, square, coffin, round, or stiletto nails, there’s usually a style that works for you.
How Long Do Press-On Nails Last?
This depends on:
how well you prep your nails
how much glue you use
your daily activities
the quality of the press-ons
When applied correctly, most good-quality press-on nails last between 1–2 weeks.
If you only want them for a weekend event or vacation, you can simply use less glue for easier removal later.
The best part? Many press-on sets can be reused if you remove them carefully.
The best nails I always recommend are these. They are a bit pricy, however they come with a whole kit (glue, alcohol pad, nail file, cuticle pusher and nails in many different sizes), look very naturel on the hand, and last a very long time. What's more they can be reused many times.
How to Apply Press-On Nails: Step-by-Step Tutorial
Start with completely clean hands and nails.
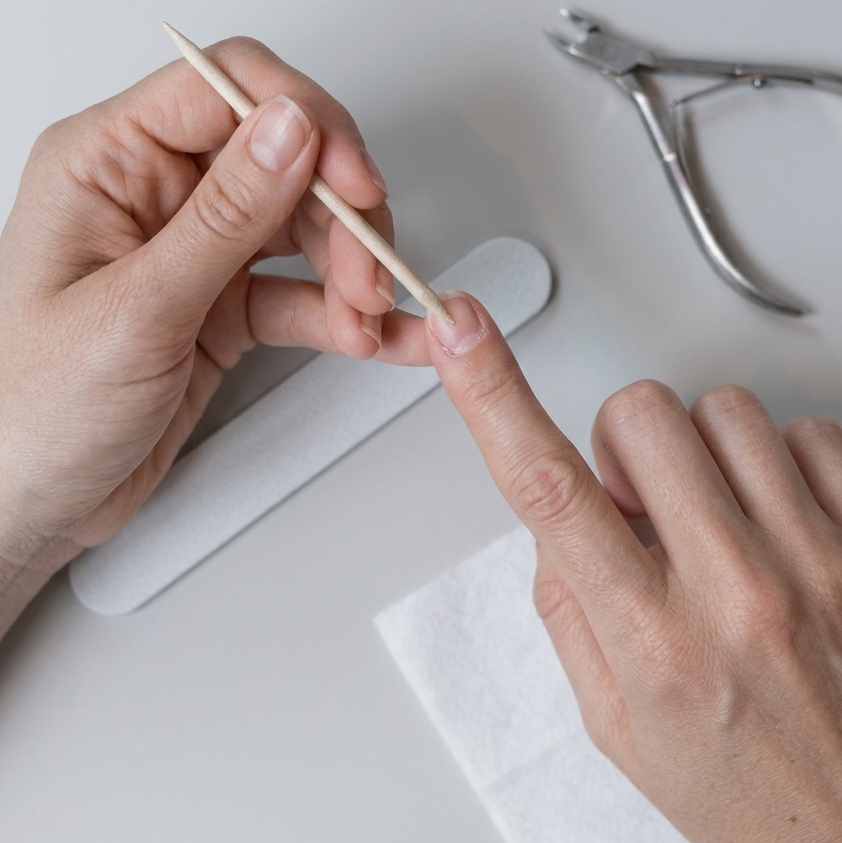
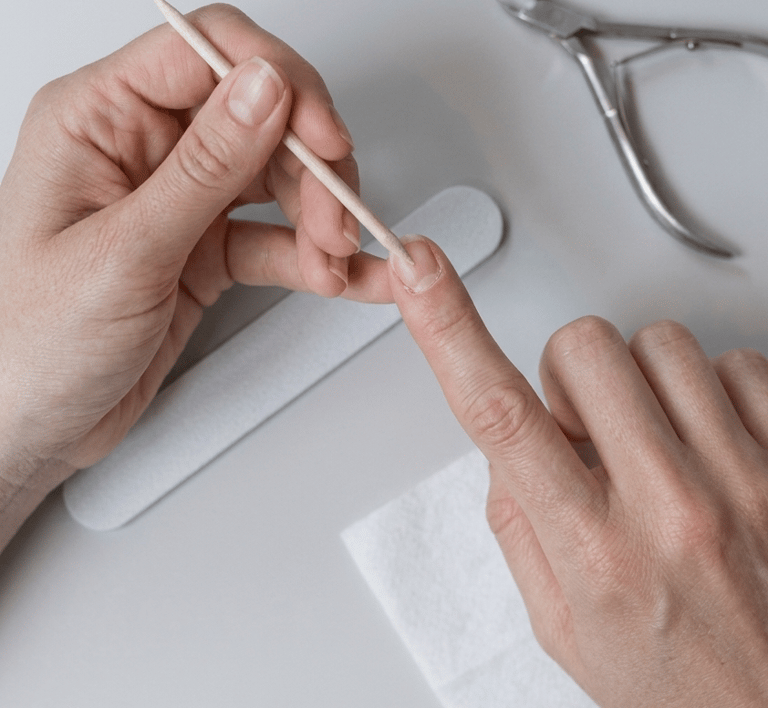
Use a wooden cuticle stick or a cuticle pusher, from the kit I recommended or your own, to gently push your cuticles back. This gives the press-on nail more surface area to grip onto.
Avoid applying:
hand cream
cuticle oil
lotion
before application. Oils make it harder for the glue to adhere properly.
1. Wash Your Hands and Push Back Your Cuticles
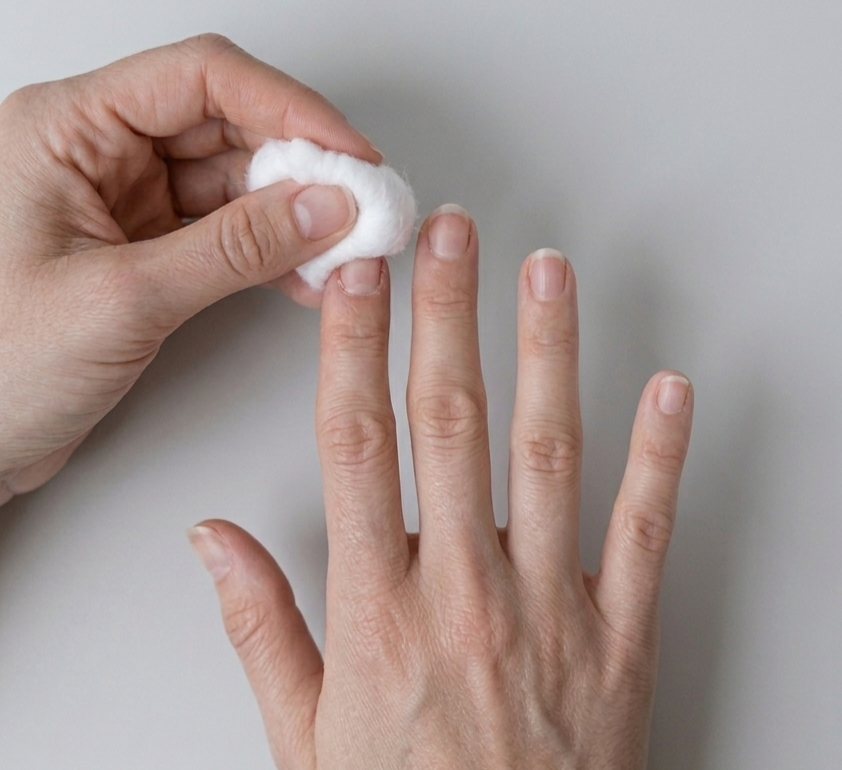
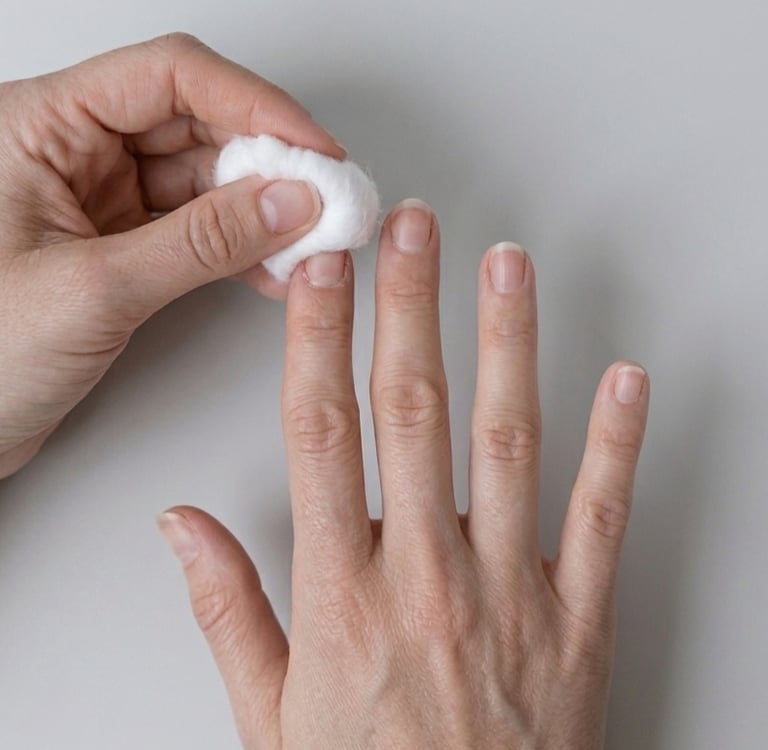
2. Wipe Nails With Alcohol or Nail Dehydrator
This step is optional, but it makes a huge difference in how long your nails last.
Use rubbing alcohol, nail dehydrator and lint-free cotton pads, or the alcohol pad from the kit to remove leftover oils and residue from the nail surface.
A clean, dry nail helps the glue bond much better.
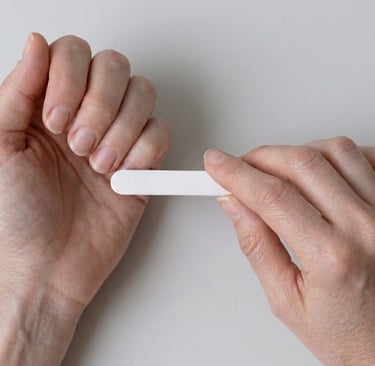
3. File and Shape Your Natural Nails
Keep your natural nails fairly short before applying press-ons.
You can also lightly buff the nail bed. Don’t overdo it tho. The goal is simply to create a slightly textured surface so the glue grips better. The finer-grit side of the double-sided nail file included in the kit is perfect for that.
This step helps prevent lifting around the edges.

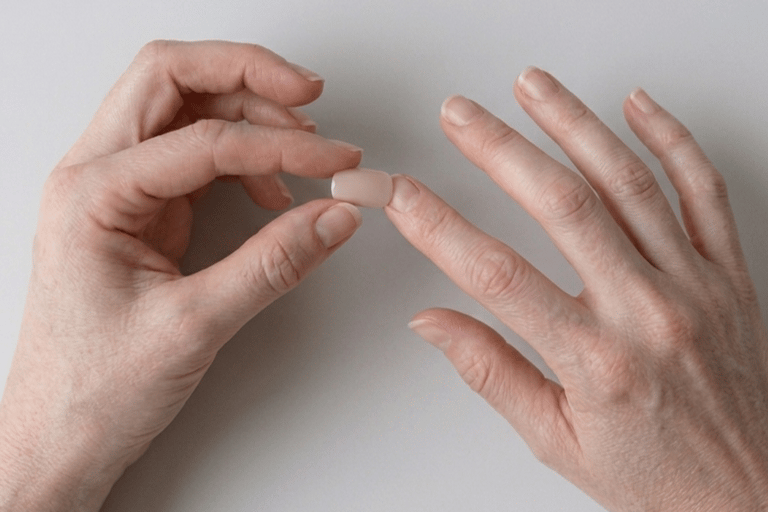
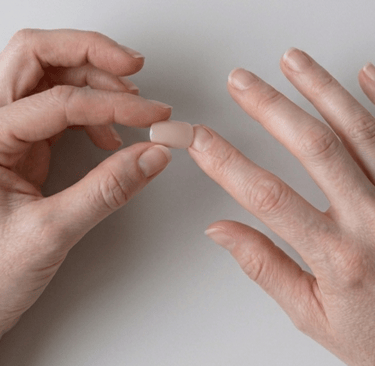
4. Match Each Press-On Nail to Your Nail Size
Most press-on sets include multiple sizes for each hand. In the kit I recommend, there is as much as 12!
A helpful tip:
if the press-on is slightly too wide, file the sides down a bit
if it’s too large overall, it’ll pop off more easily
The correct fit should sit comfortably from sidewall to sidewall without overlapping onto your skin.
Many press-on nails also have tiny size numbers underneath them. Those numbers vary from person to person, so there’s no universal “thumb = size 2” rule.
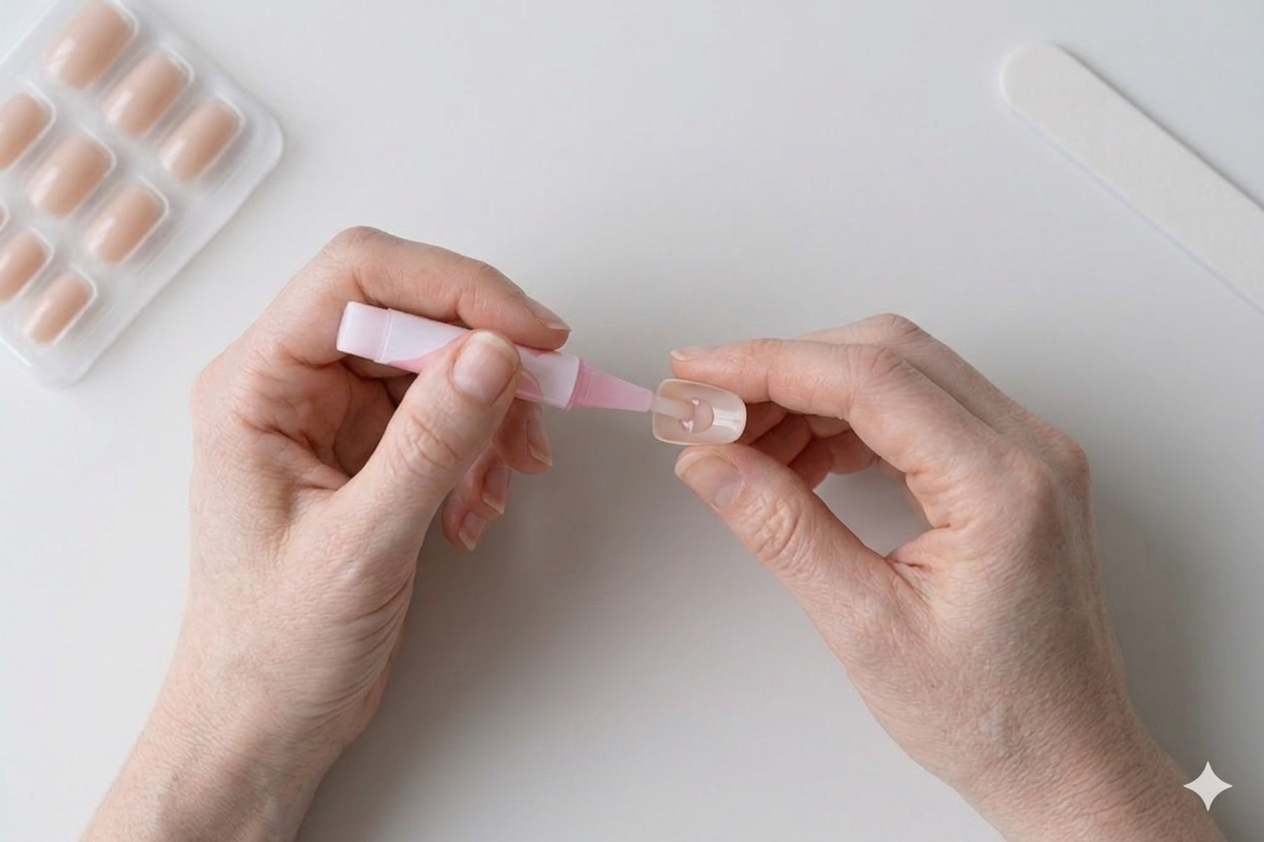
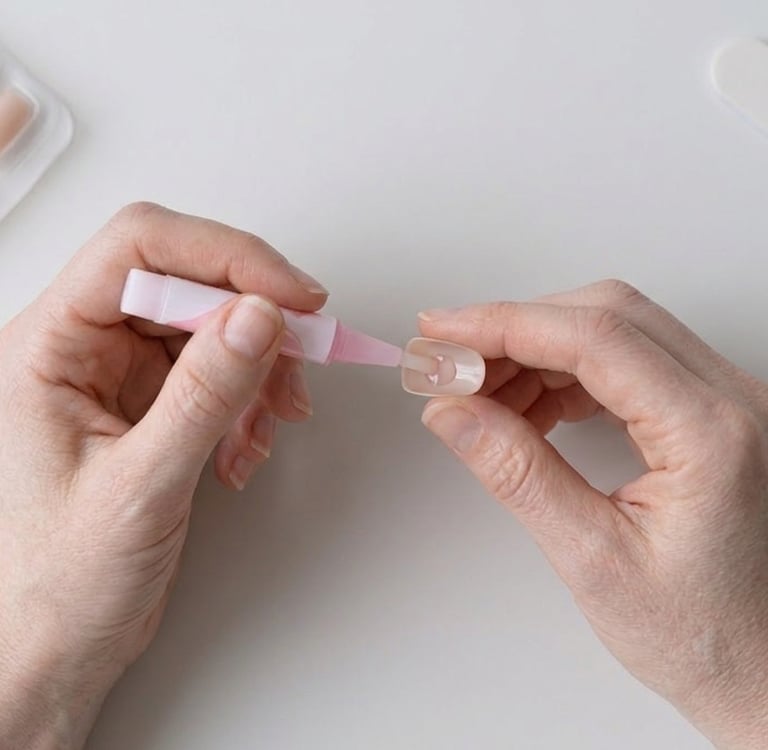
5. Apply Glue to Both the Natural Nail and the Press-On
For longer wear:
add a small amount of glue to your natural nail
add a thin layer inside the press-on nail
Using glue on both surfaces helps create a stronger bond.
Important: use the glue sparingly. Too much glue can spill onto the cuticle area and make the application messy.
It is also crucial to use a right glue. I recommend using the glue from the kit as it really holds, however if it runs out, look for really strong glues. I have some glue recommendations is my other blogs.
If you only want short-term wear, use less glue and apply it only to the press-on nail.
6. Press and Hold for 30–60 Seconds
Place the press-on nail slightly above your cuticle and press downward firmly.
Hold it in place for at least 30 seconds so the glue has time to set properly.
This is one of the biggest secrets to making press-ons last longer.
7. Wash Hands and Apply Hand Cream
Once all the nails are secure, wash your hands gently to remove any leftover glue residue.
Then finish with:
hand cream
cuticle oil
moisturizer
Your nails will instantly look more polished and salon-finished.
How to Make Press-On Nails Last Longer
After lots of trial and error, these are the techniques that consistently help press-ons stay on for over a week:
always start with freshly washed hands
avoid oils or lotions before application
wipe nails with alcohol first
lightly buff the nail surface
choose the correct nail size
file oversized nails for a better fit
use glue sparingly but evenly
press firmly during application
avoid water for about an hour afterward if possible
but it is also important that you use the right nails and glue, as quality can vary from nailset to nailset.
One major reason press-ons fall off early is trapped air or moisture underneath the nail. Pressing down firmly helps prevent this.
Final Thoughts
Press-on nails have honestly become one of the easiest beauty shortcuts in my routine. They’re fast, affordable, and surprisingly durable when applied correctly.
Once you get the hang of the prep and application process, you can get a salon-style manicure at home in less than 15 minutes — no appointment necessary.
I really, really, really, recommend this set. It is one of the best I had in terms of both quality and variety of sizes.